Svalboard
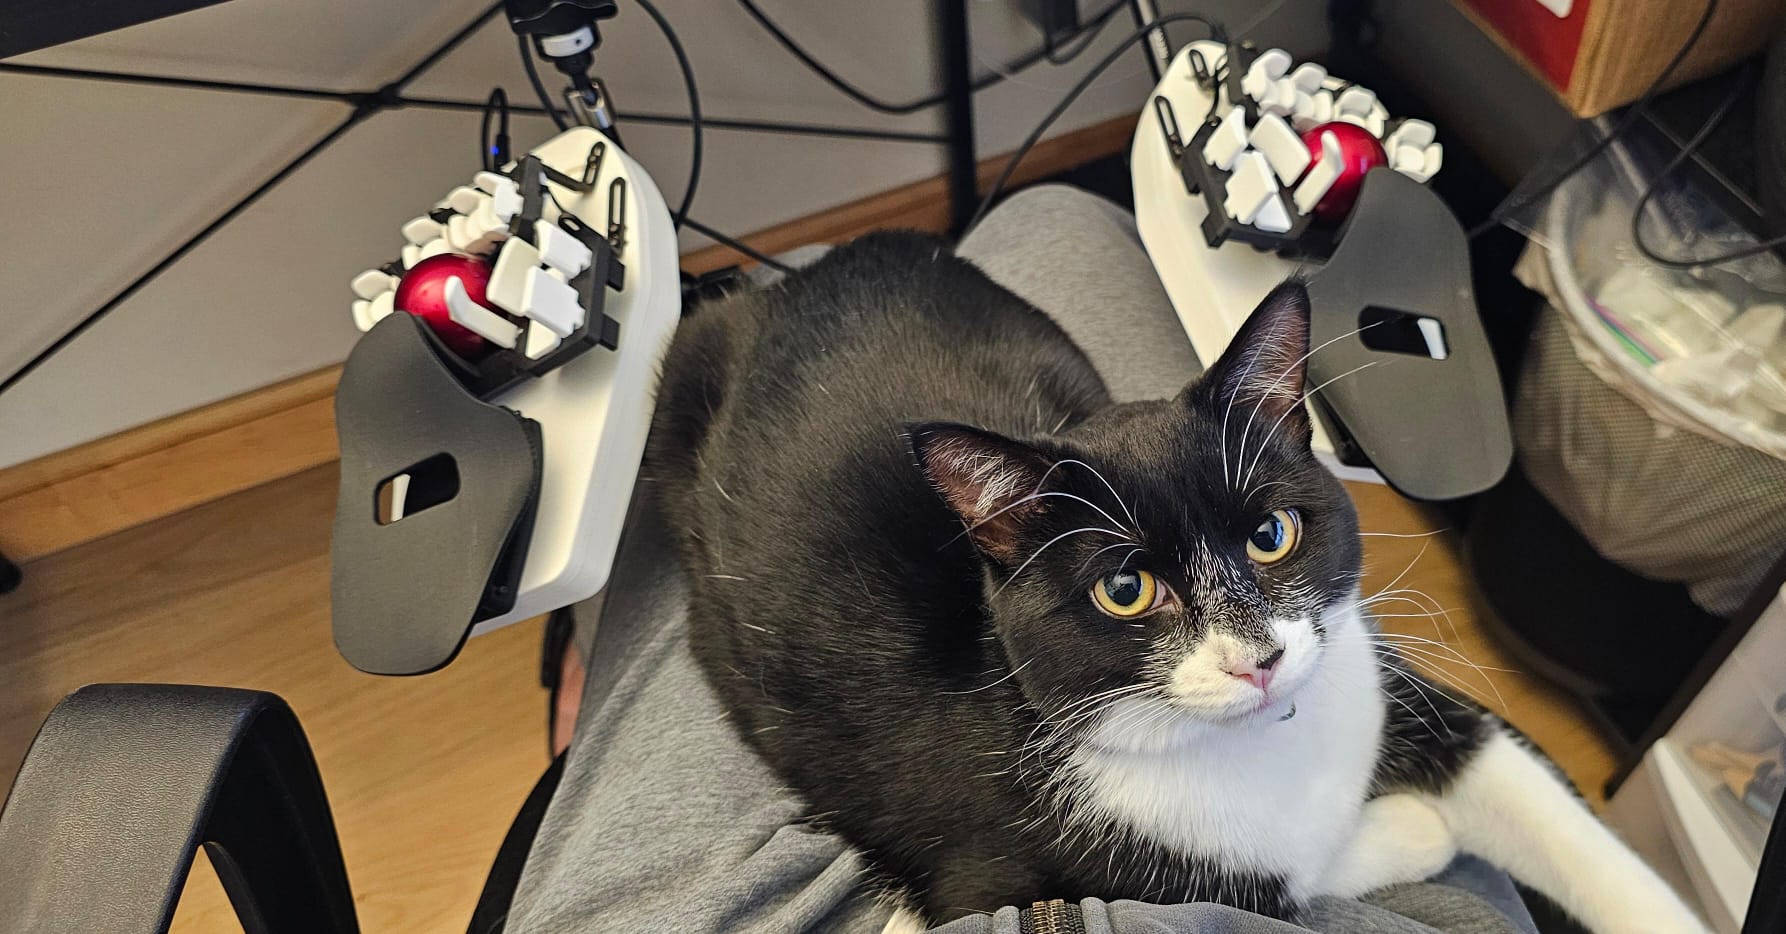
The Svalboard is the high end of keyboard ergonomics designed by Morgan Vernable. I got my hands on a Svalboard self print kit and was really excited to put it together. This page describes how I decided to personalize my Svalboard, along with a gallery of my build process. Check out the official Svalboard page at svalboard.com!

Layout
Before using the Svalboard, I used the Dvorak keyboard layout. This layout focused on reducing finger movement and was really nice to use. However, due to the structure of the Svalboard, I wanted to pick a more suitable layout.
After a bit of searching, I settled on the Halmak keyboard layout. My biggest concern was the center columns formerly accessed by the index fingers. The Svalboard removed these two columns, so I wanted a keyboard layout that reduced their use. Halmak happens to move most of the letter keys out of the center columns while maintaining efficiency and ergonomics.

The modified Halmak layout I use with the Svalboard
Build gallery
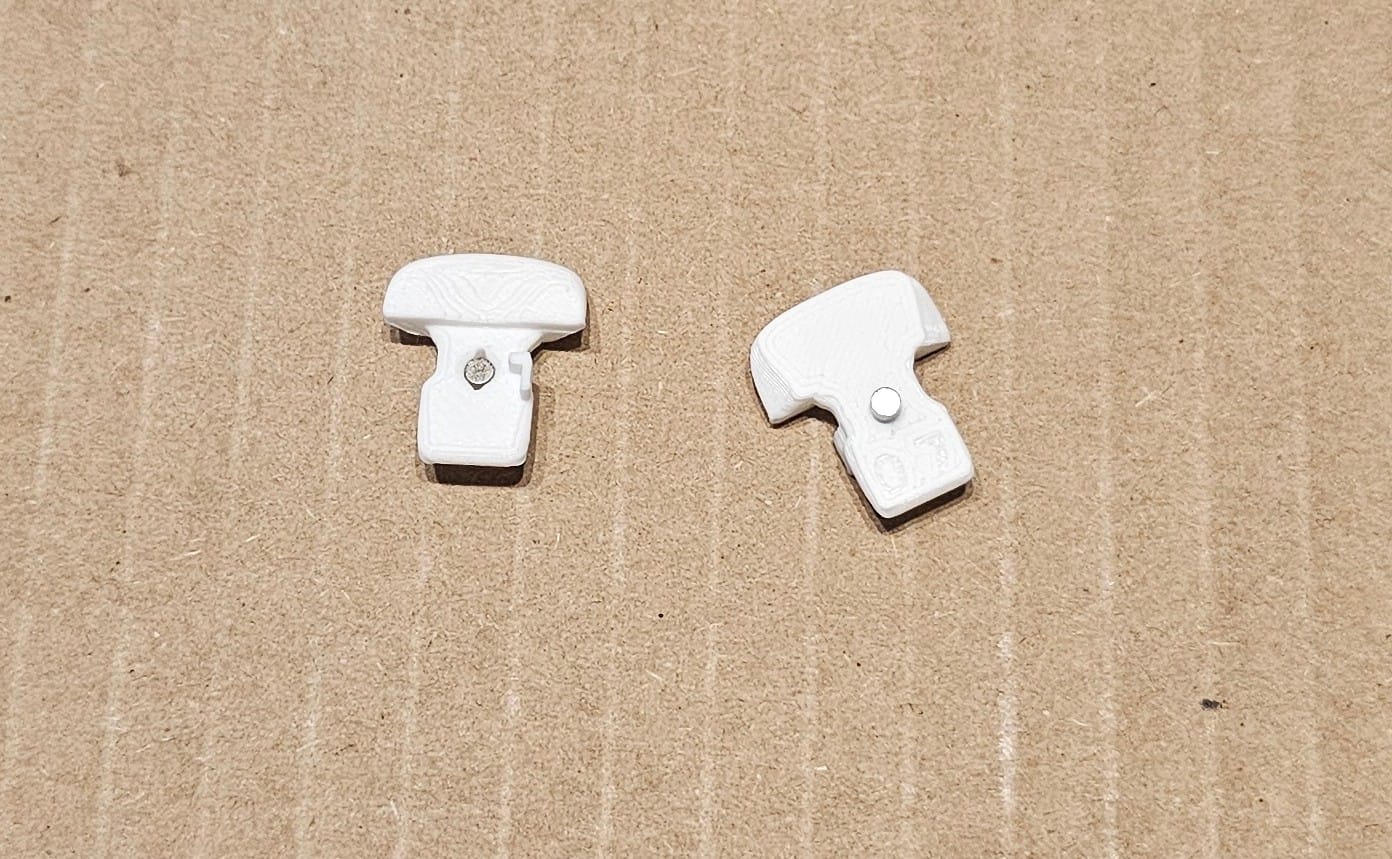
Here are a few photos I took while assembling the Svalboard.

Putting a magnet in each key. I used an extra magnet to hold everything in place as the glue dried.
Review
Although it can look intimidating, I really like my Svalboard. I had a few difficulties assembling the kit because the provided instructions weren't perfect, but there are many active members of the Svalboard community that happily helped me out. The kit was also quite expensive, but given the complexity of the design, the number of accessories and spare parts, and the fast customer service from the creator himself, I'd argue it is well worth it.
The Svalboard by itself has quite a big learning curve. My old keyboard was the Dactyl Manuform, so I was quite familiar with funky keyboards. However, the horizontal movements required by the Svalboard take a while to get used to. Choosing to learn a new keyboard layout at the same time also didn't help, but that was entirely self-inflicted and not at all required.
After a while, I did get used to it, but I definitely cannot type as fast as I used to. It may not be incorrect to say that I'll never beat my best typing speed ever again because my muscle memory no longer works on my old keyboard. However, typing speed really isn't the end goal of the Svalboard. The goal was to make typing as comfortable as possible, and to that end, the monetary investment of buying the kit and the time investment of learning Halmak was well worth it.